Festive Green Christmas Nails
Embrace the Festive Spirit with Green Christmas Nails
Green Christmas Nails To Bring In The Season…When it comes to holiday nail trends, one color that never goes out of style is green. Green Christmas nails are not only a classic choice but also a bold and stunning way to showcase your festive spirit.
| This post contains affiliate links at no extra cost to you, any purchase made helps this blog and my little family. |
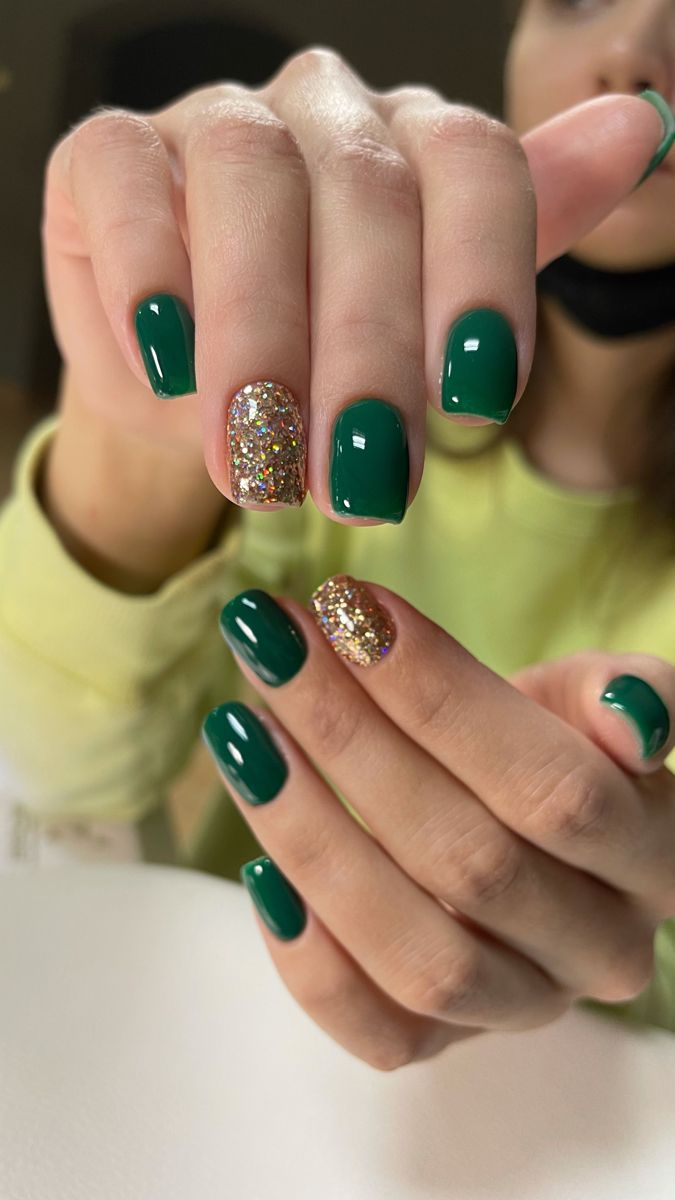
Whether you’re aiming for a sophisticated look or something playful and fun, green nails are versatile enough to meet all your holiday needs. Let’s dive into why green is the perfect color for your Christmas nails this year.

Why Choose Green Christmas Nails?
Symbolism and Meaning Behind Green
Green is a color deeply associated with Christmas, representing the evergreen trees that stand tall throughout the cold winter months. It symbolizes renewal, life, and the eternal spirit of the holiday season. By choosing green for your Christmas nails, you’re not only making a stylish choice but also connecting with the deeper meaning of the season.
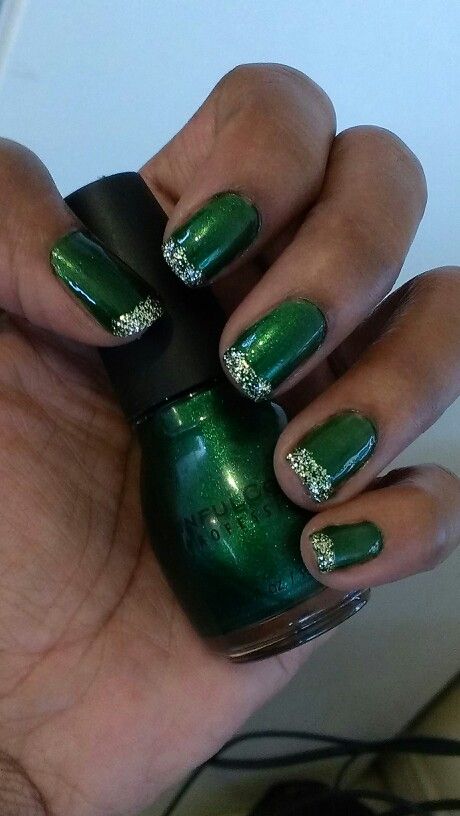
Versatility in Shades of Green
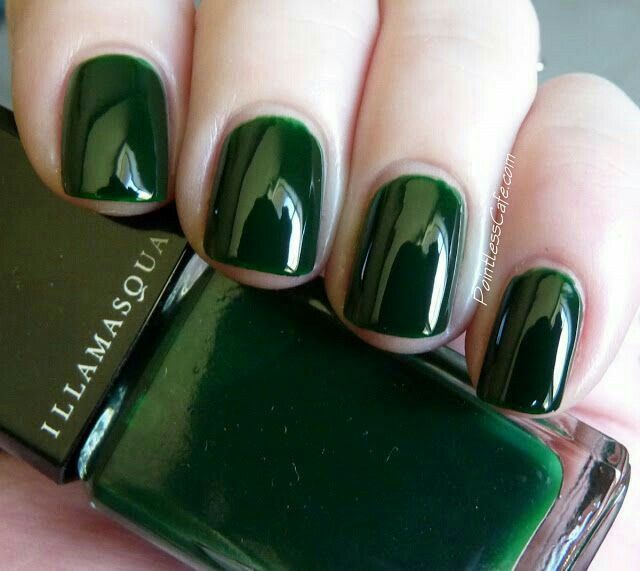
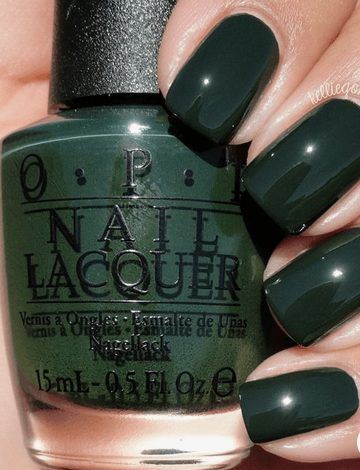
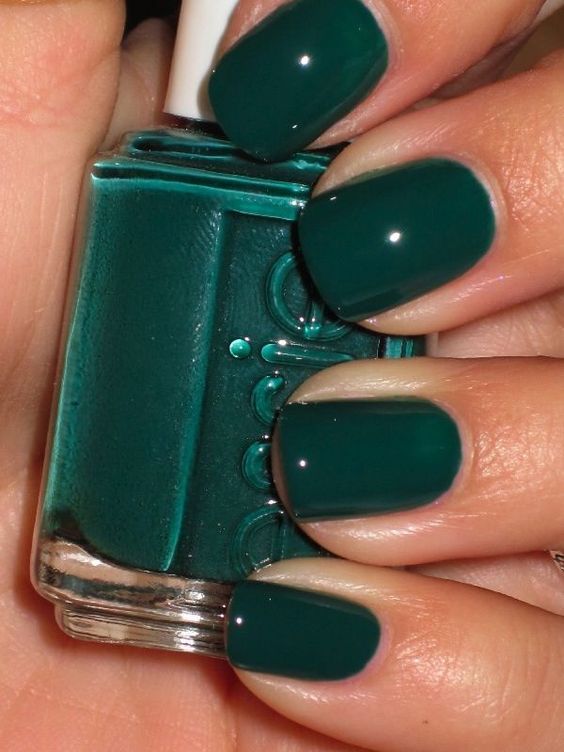
One of the best things about opting for green Christmas nails is the variety of shades available. From deep emeralds to shimmering forest greens, there’s a shade for everyone.
The Best Deals Of Amazon’s Green Christmas Nails
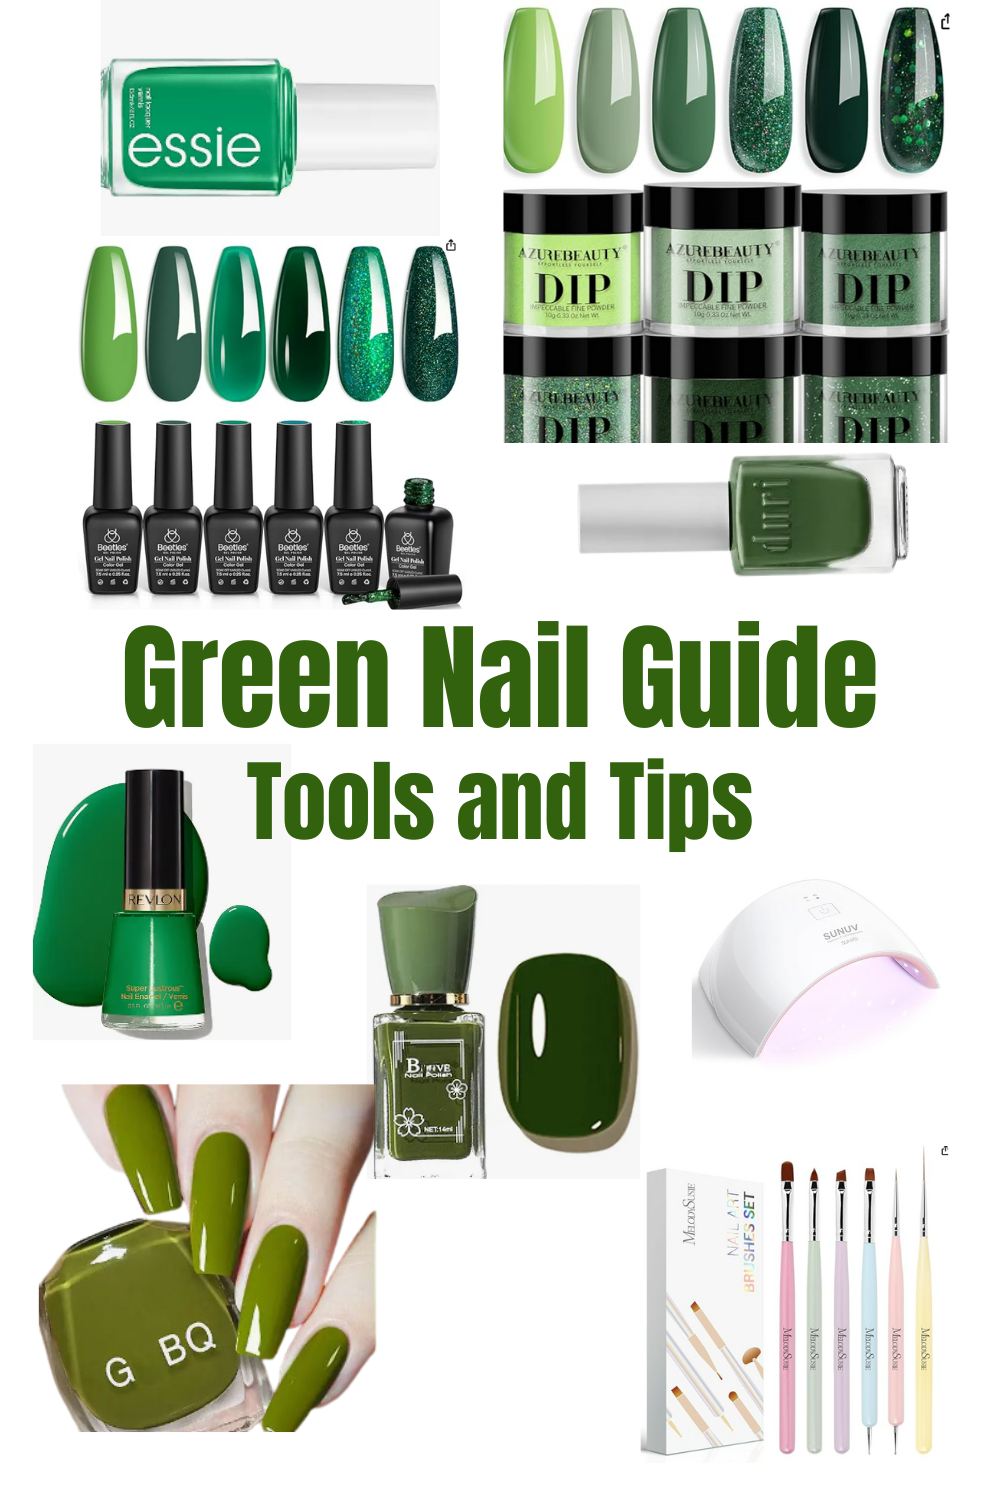
Green Essie Polish/ BeetleGel Polish/ DND Gel Polish/Dip Powder
Revlon Polish/ UV Light Lamp/ GBQ Polish/ Nail Brushes/ Duri Polish/ Avocado Green Polish
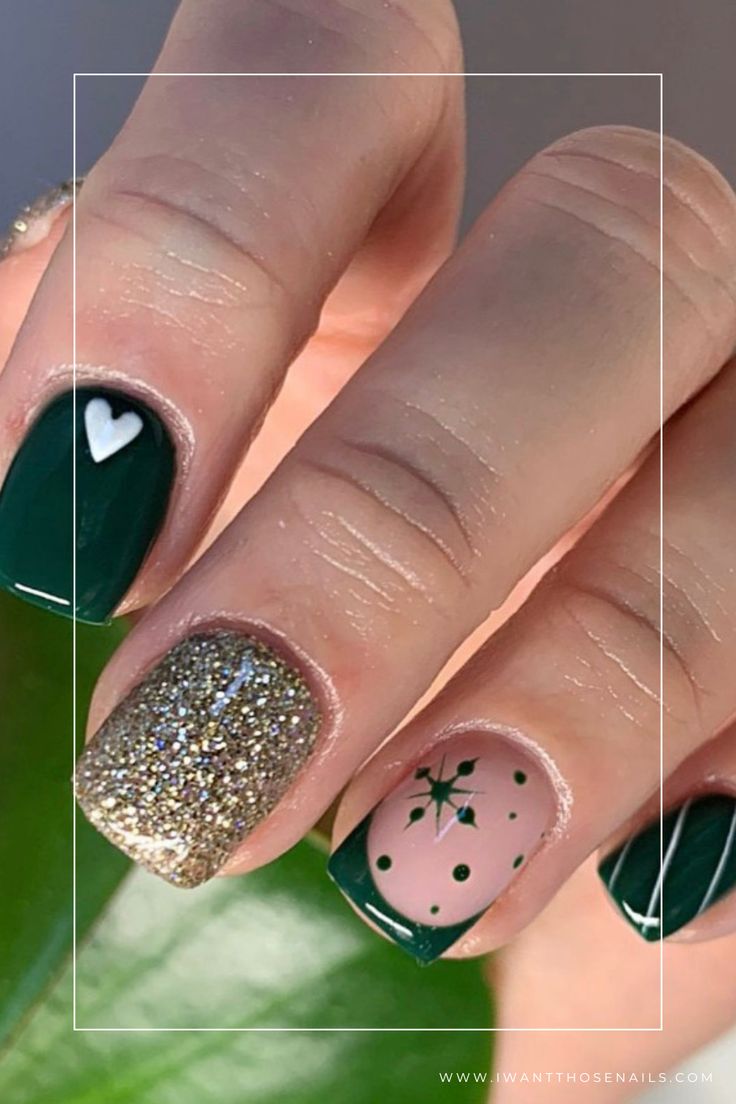
Whether you prefer a dark, moody green for a more elegant look or a bright, festive hue that screams holiday cheer, green nails can be tailored to suit your style.
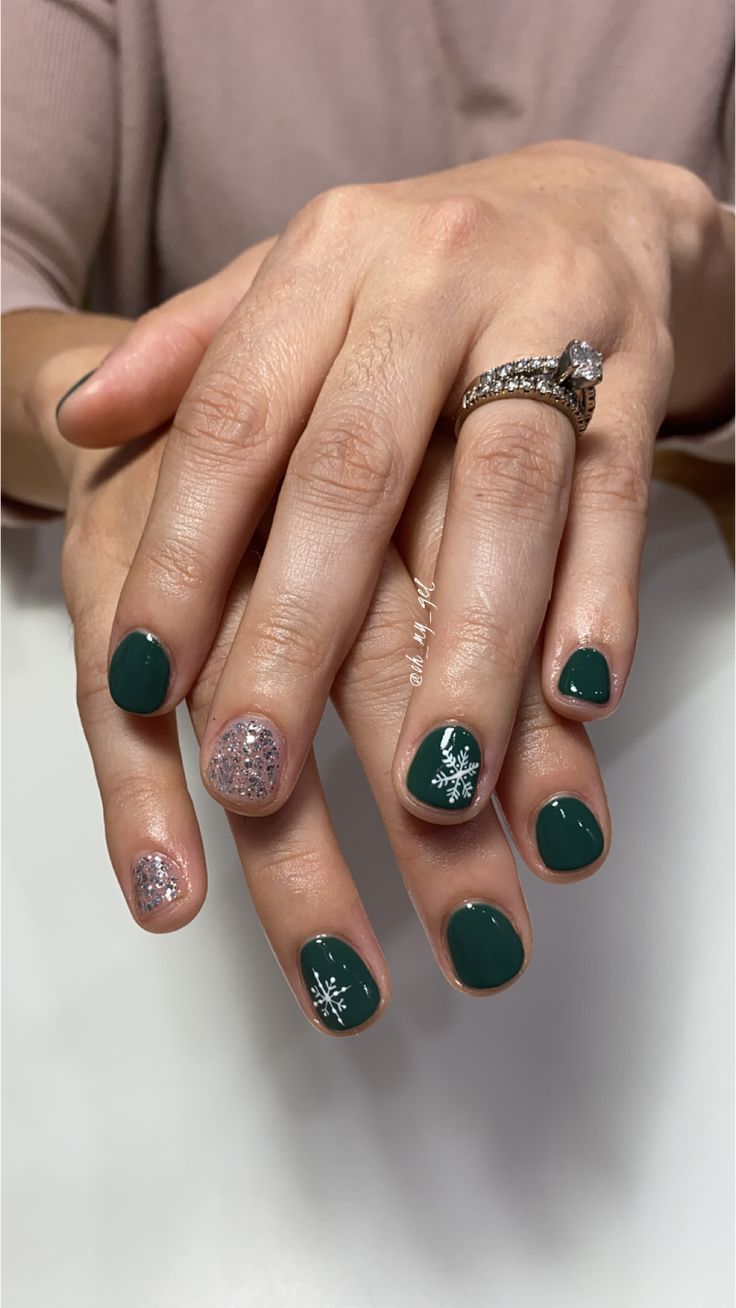
Top Green Christmas Nail Designs to Try
Classic Green with Gold Accents
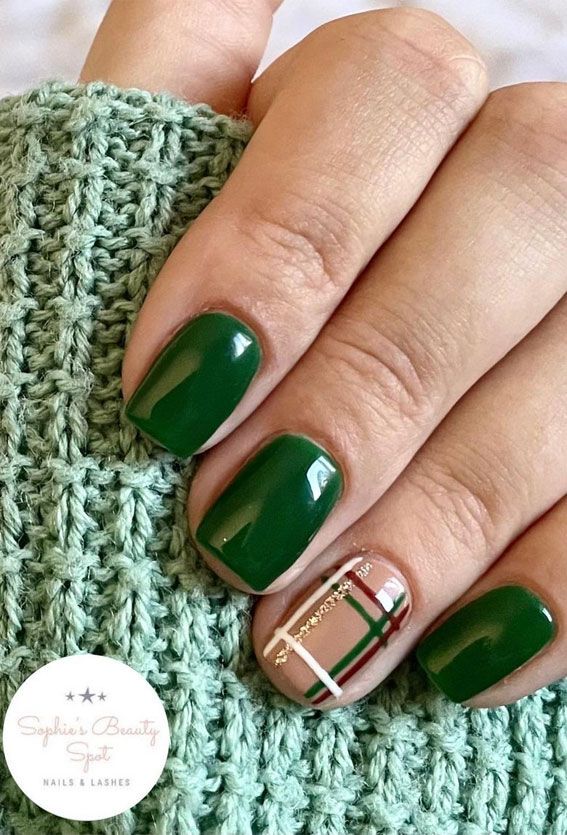
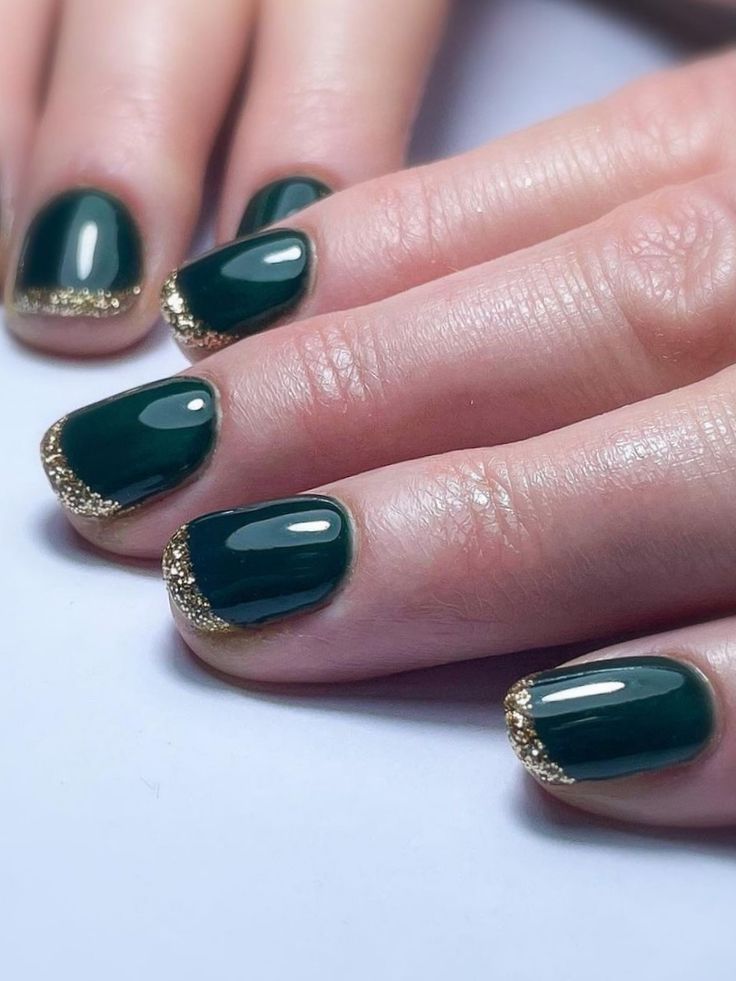
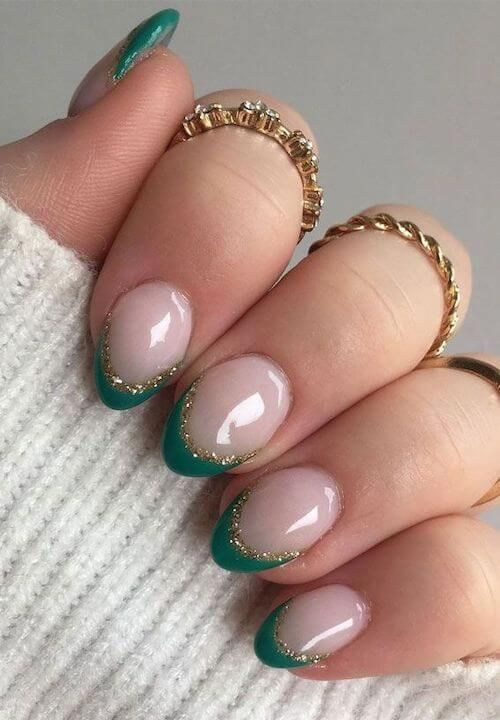
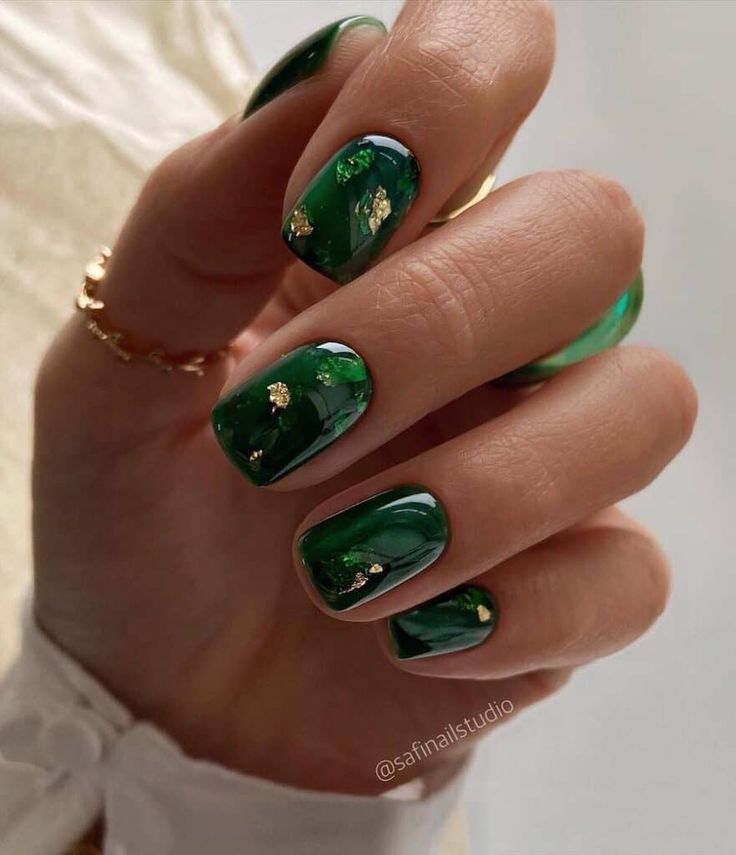
For those who love a touch of luxury, pairing green nails with gold accents is a winning combination. The richness of gold complements the green perfectly, creating a look that’s both festive and classy. Consider gold stripes, dots, or even a delicate gold snowflake on one or two nails for an extra touch of holiday magic.
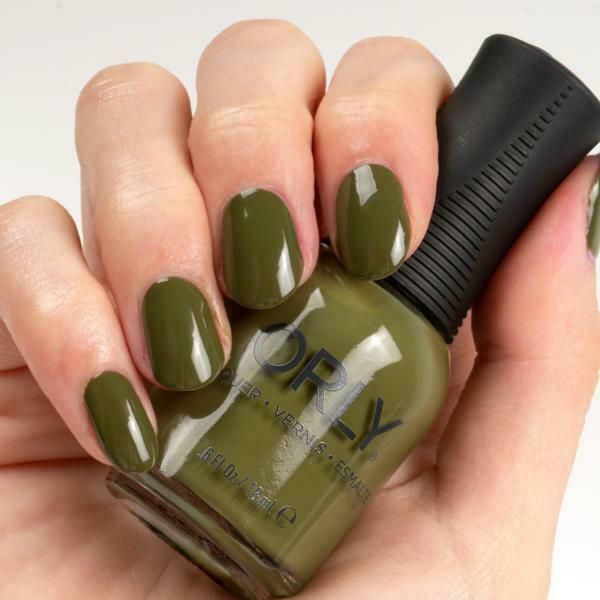
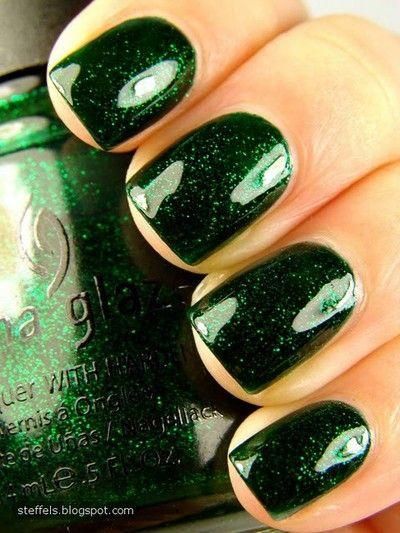
Green Glitter Christmas Nails
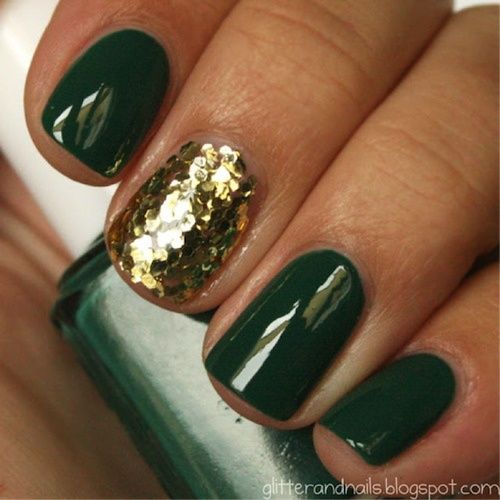
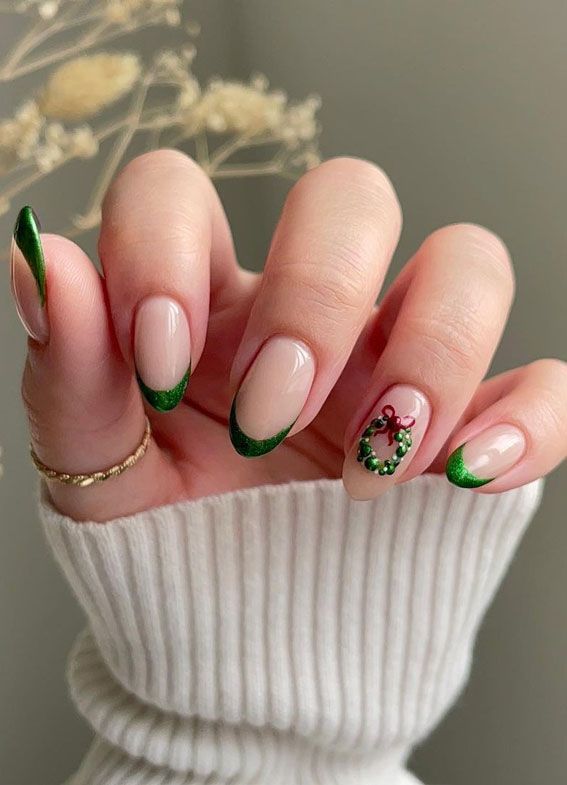
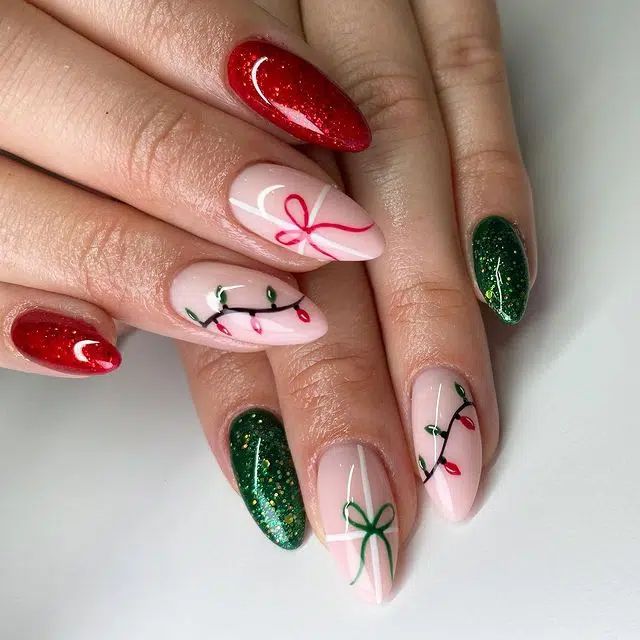
Nothing says Christmas like a bit of sparkle! Green glitter nails are a fantastic way to add some holiday shine to your look. Whether you go for full glitter nails or just a glitter accent on one or two nails, this design will ensure your nails catch the light and sparkle at every holiday party. Check out what nails are better for you acrylic or dip nails?
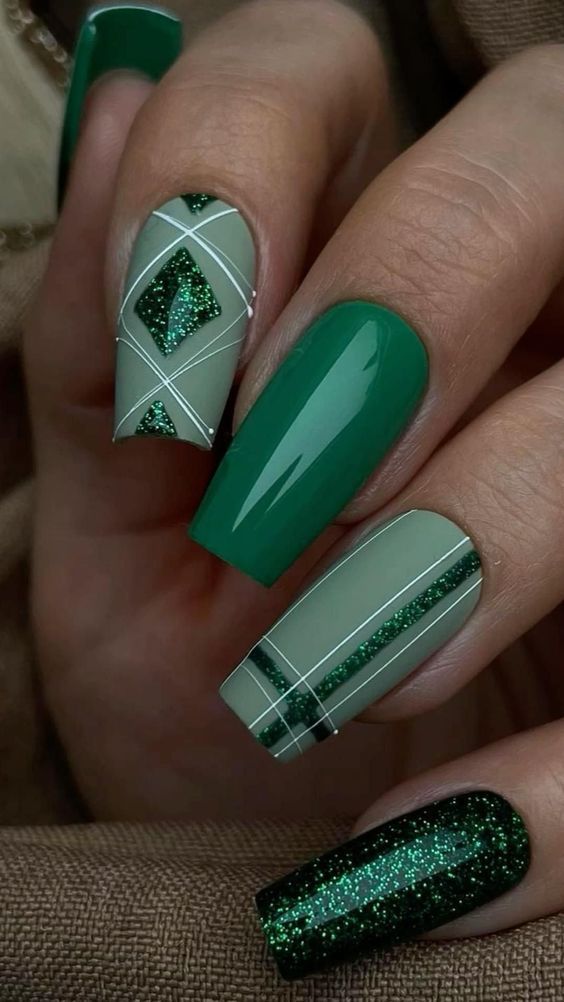
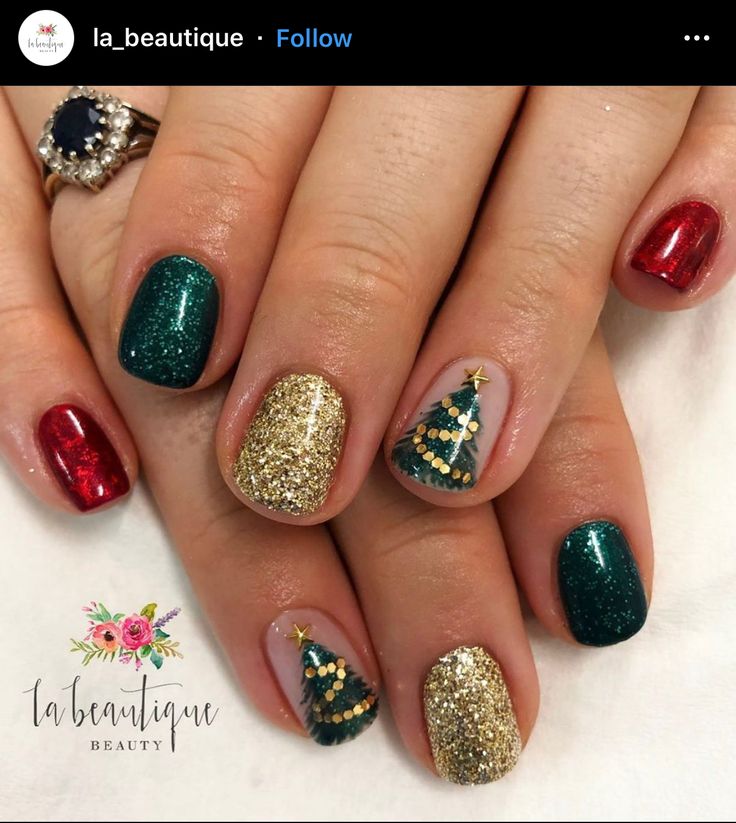
Matte Green for a Sophisticated Look
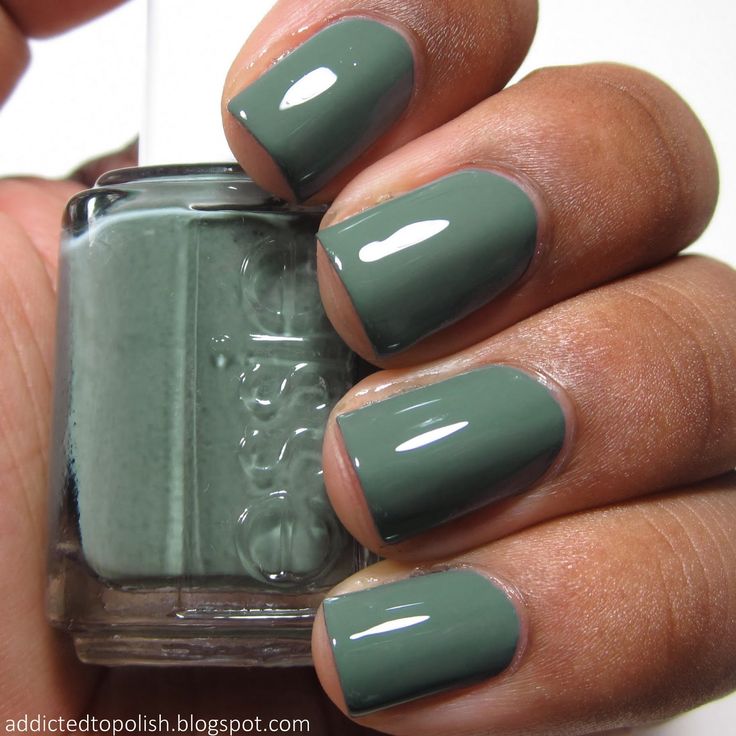
If you’re after something a bit more understated yet still chic, matte green nails are the way to go. The matte finish gives your nails a velvety appearance that’s both modern and elegant. Pair this look with a simple gold or silver accent for a minimalist but festive touch.
Green Ombre for a Trendy Twist
Ombre nails have been all the rage, and they’re perfect for the holiday season. A green ombre effect, blending from a dark forest green to a lighter, frosty mint, can give your nails a trendy and unique look. This design is perfect for those who love to make a statement with their nails.

Festive Green Nail Art
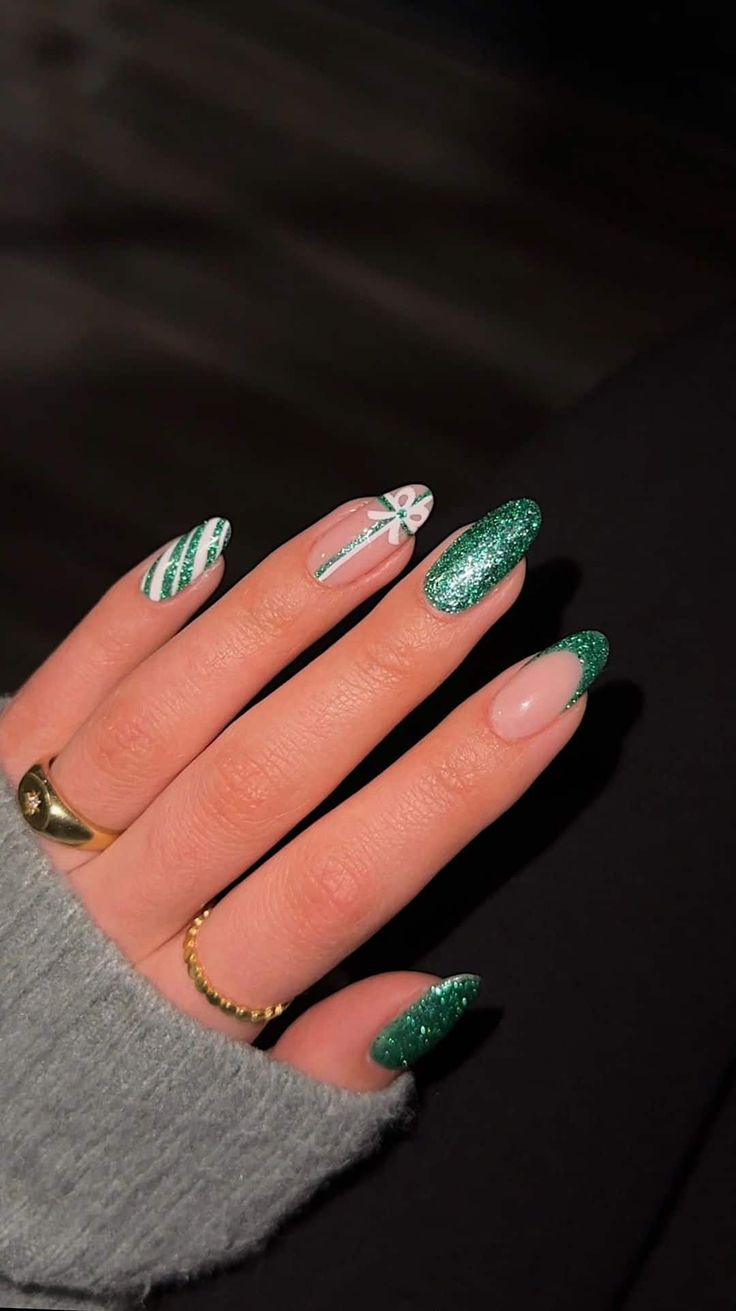
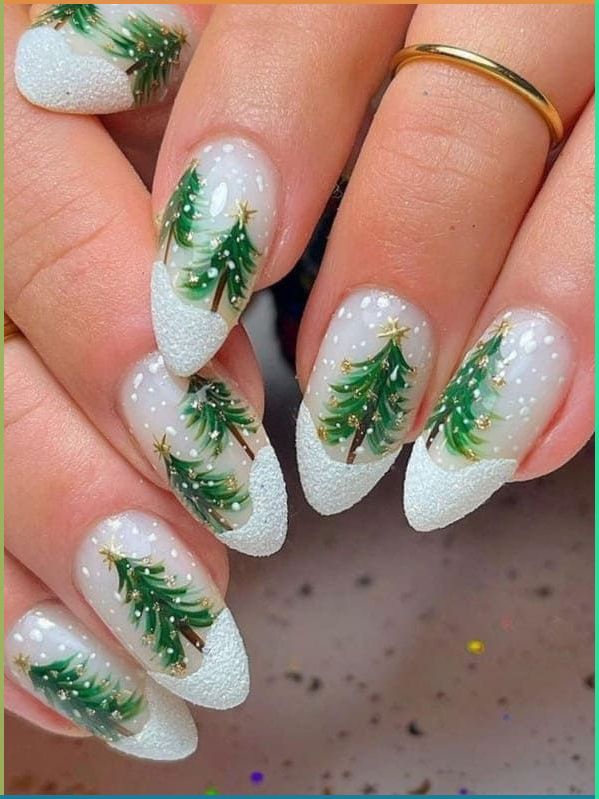
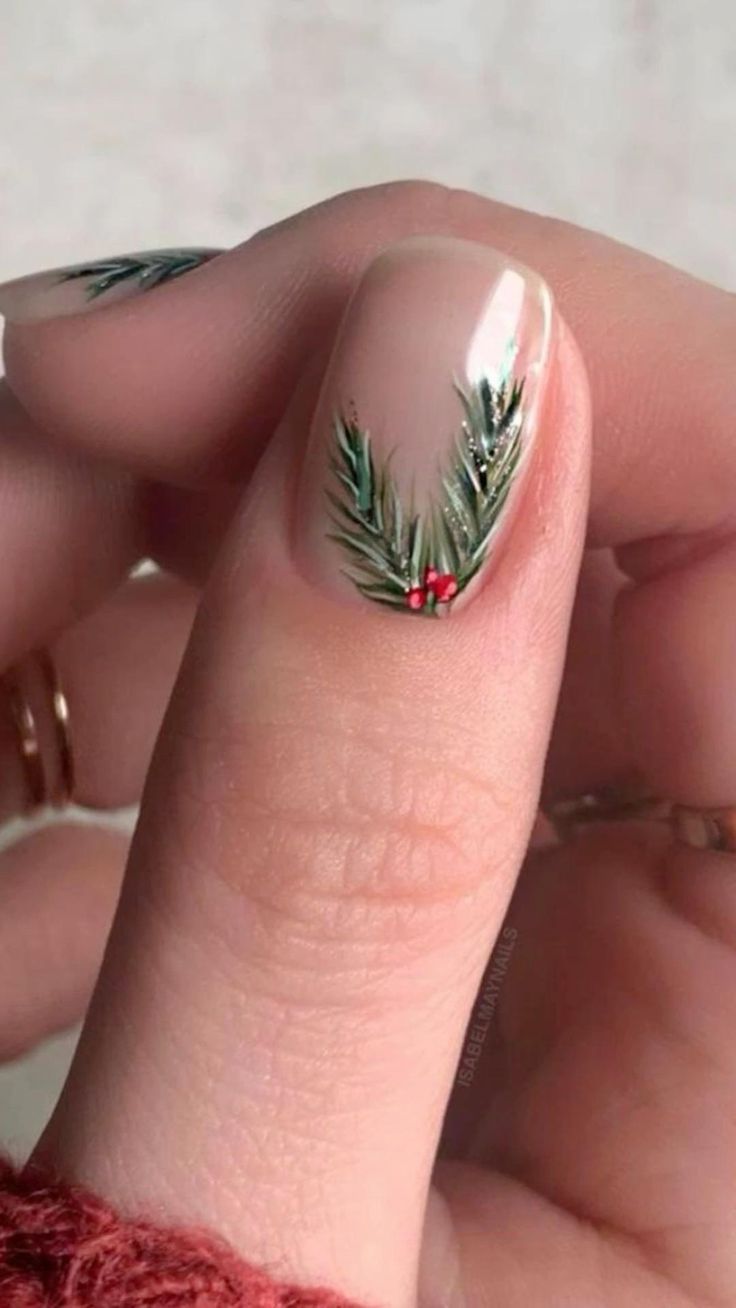
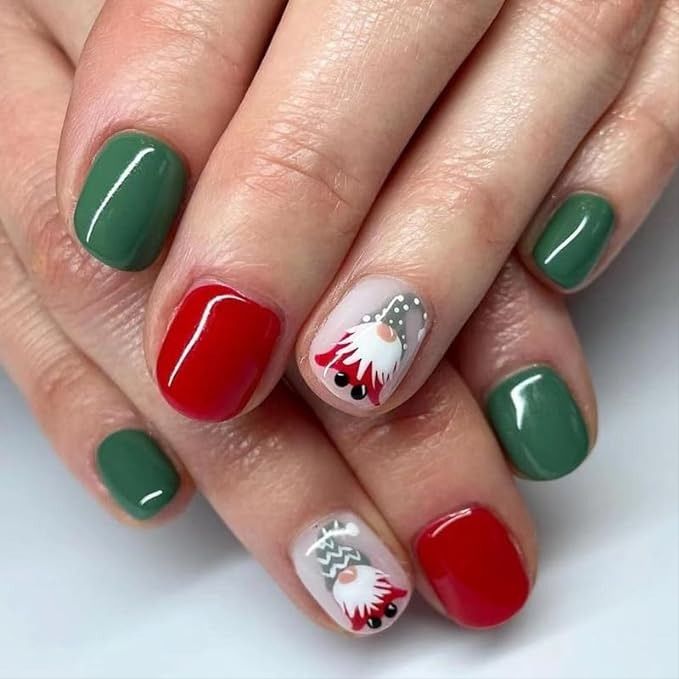
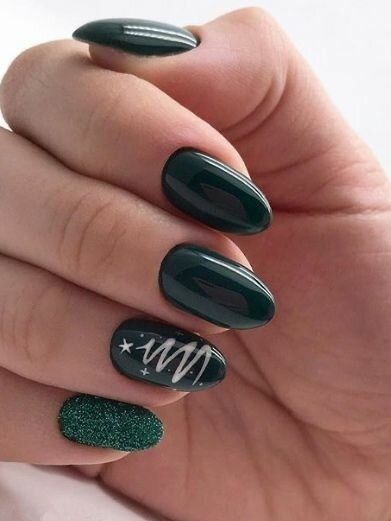
For the artistically inclined, green nails provide the perfect canvas for some holiday-themed nail art. Think tiny Christmas trees, holly leaves, or even a Grinch-inspired design. These playful designs can be as simple or as intricate as you like, making your Green Christmas Nails truly one-of-a-kind.

How to Achieve the Perfect Green Christmas Nails at Home
Prepping Your Nails Using These Perfect Tools To Help You.
Before diving into your green nail polish, it’s essential to prep your nails properly. Start by trimming and filing your nails to your desired shape. Follow up with a cuticle push-back and a moisturizing hand cream. This will ensure that your Green Christmas Nails look flawless and last longer.
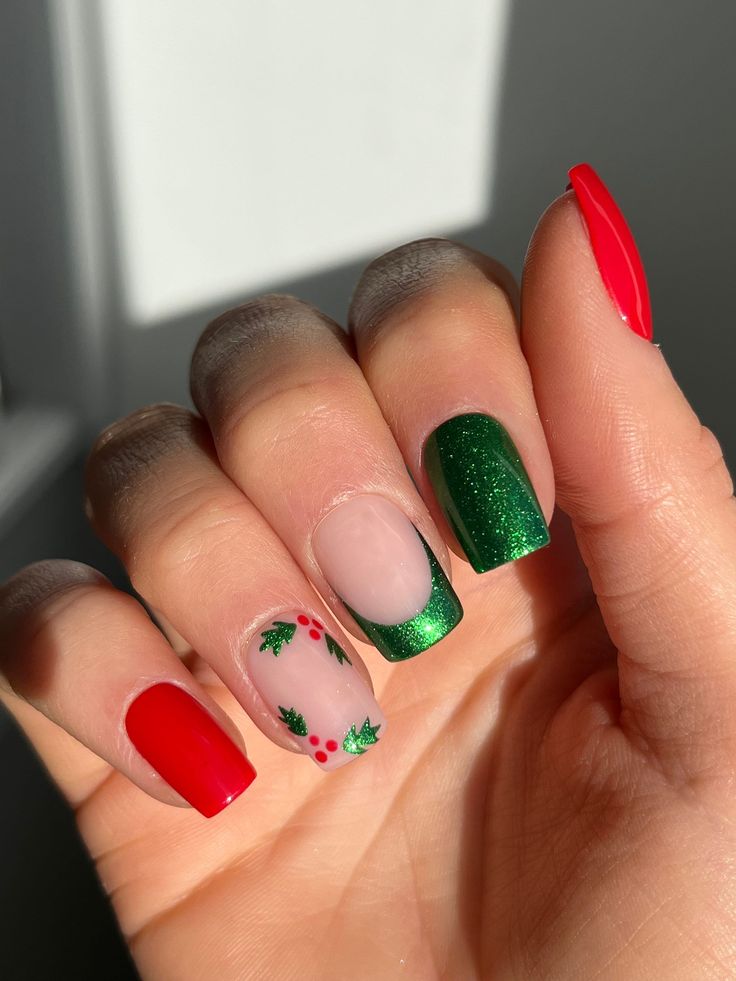
Prepping your nails is a crucial step in achieving a flawless and long-lasting manicure, especially when you’re going for something as bold and festive as Green Christmas Nails. Here’s a more detailed breakdown of the steps you should take before applying your green nail polish:
1. Trimming and Filing Your Nails
- Why It’s Important: Trimming and filing your nails not only helps to create a clean and uniform shape but also prevents any rough edges that could catch and lead to chips or breaks later on.
- How to Do It: Use a good-quality nail clipper to trim your nails to your preferred length. Then, take a nail file and shape your nails. You can go for a classic square, rounded, or almond shape, depending on your style. When filing, always move the file in one direction rather than sawing back and forth to avoid weakening your nails.
2. Cuticle Care
- Why It’s Important: Pushing back your cuticles helps create a neat and professional-looking manicure. It also makes more space for your polish, allowing for a more even application and preventing the polish from lifting at the edges.
- How to Do It: After soaking your nails in warm water for a few minutes to soften your cuticles, gently push them back with a cuticle pusher. Be careful not to cut your cuticles, as this can lead to irritation or infection. If necessary, you can use a cuticle remover to dissolve any excess cuticle skin.
3. Buffing the Nail Surface
- Why It’s Important: Buffing smooths out ridges on your nail surface, helping the polish adhere better and look more even. It also brings out a natural shine, which can enhance the overall appearance of your nails.
- How to Do It: Use a nail buffer to gently smooth the surface of your nails. Don’t over-buff, as this can thin your nails and make them more prone to breaking. Just a few gentle strokes across each nail should be enough.
4. Moisturizing Your Hands and Cuticles
- Why It’s Important: Moisturized skin and cuticles make your nails look healthier and more polished. Dry skin can detract from even the most beautiful manicure, so it’s important to keep your hands well-hydrated.
- How to Do It: After pushing back your cuticles, massage a rich hand cream into your skin, paying special attention to your cuticles. You can also use cuticle oil to further nourish and hydrate the area around your nails. Let the moisturizer absorb fully before moving on to the next step.
5. Cleaning the Nail Surface
- Why It’s Important: Cleaning your nails removes any oils or residues from the moisturizing step, ensuring that your polish adheres properly and lasts longer without chipping.
- How to Do It: Wipe your nails with a cotton pad soaked in nail polish remover or rubbing alcohol. This will remove any lingering oils and create a clean, dry surface ready for polish application.
By following these steps, you’ll create a perfect canvas for your Green Christmas Nails, ensuring they look flawless and stay chip-free throughout the holiday season. Proper nail prep is the secret to a professional-looking manicure that lasts, so don’t skip these important steps!
Choosing the Right Green Polish
Selecting the right shade of green is crucial. Depending on your skin tone and personal style, you might opt for a cool-toned emerald, a warm olive green, or something in between. Don’t be afraid to experiment with different shades until you find the perfect one.
Application Tips for a Professional Finish
When applying your green nail polish, start with a base coat to protect your nails and prevent staining. Apply the polish in thin, even layers, allowing each coat to dry before applying the next. Finish with a top coat to seal in your color and add extra shine. For an extra festive touch, consider adding a glitter top coat or a few rhinestones.
Maintaining Your Green Christmas Nails
Daily Care Tips
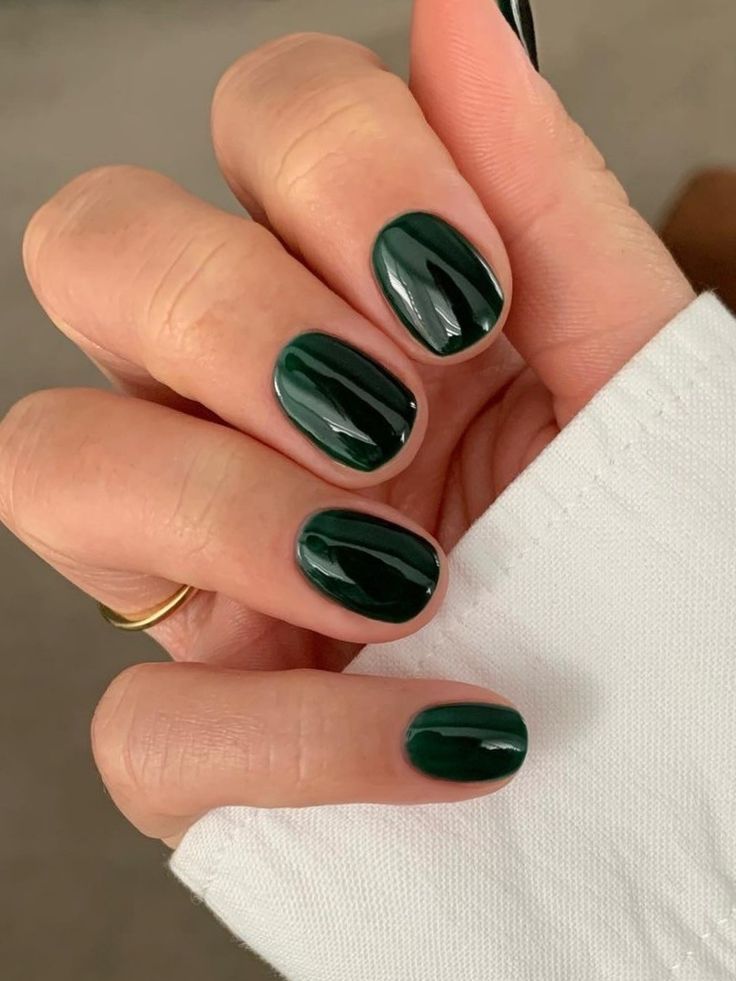
To keep your Green Christmas Nails looking their best throughout the holiday season, moisturize your hands regularly and avoid using your nails as tools. Wearing gloves when doing household chores can also help protect your manicure.
Touch-Up Tips
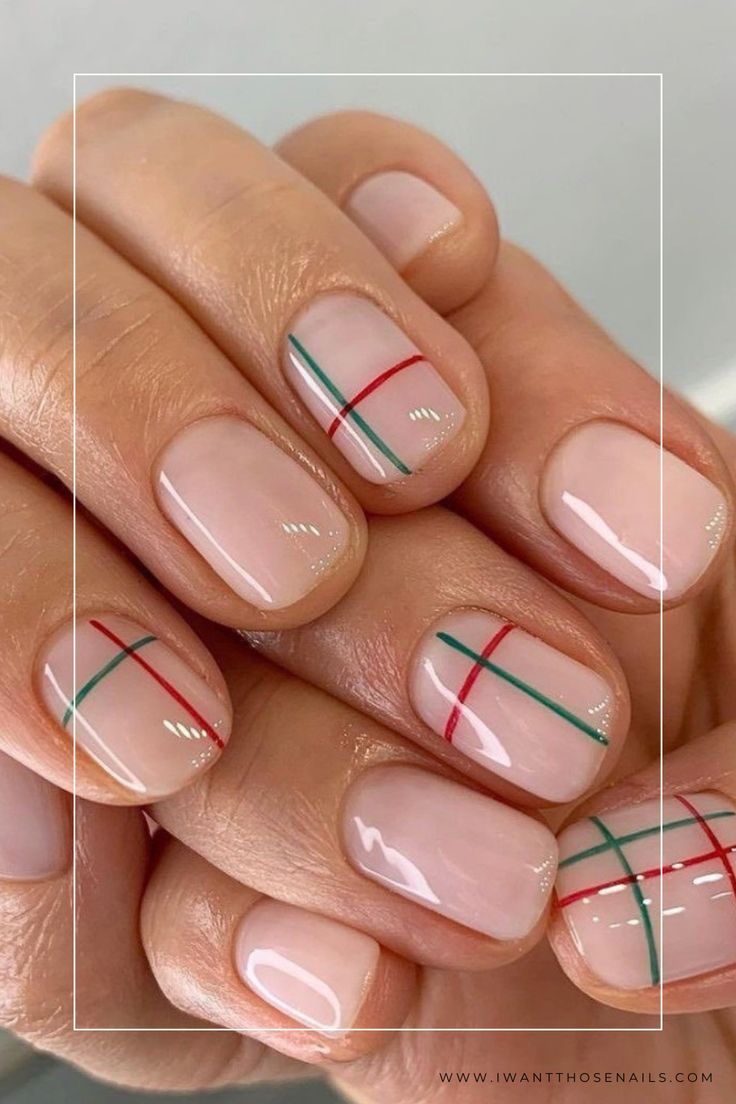
If your green nails start to chip or dull, don’t worry! A quick touch-up with your green polish or a fresh top coat can bring them back to life. For those with a bit more time, consider reapplying a fresh layer of green polish or adding new accents to refresh your look.
Where to Find Inspiration for Your Green Christmas Nails
Pinterest and Instagram
Social media platforms like Pinterest and Instagram are treasure troves of inspiration for Green Christmas Nails. From professional nail artists to everyday users, you’ll find countless designs and ideas to spark your creativity. Save your favorites to recreate at home or show your nail technician at your next appointment.
Nail Salons and Professionals
If you prefer to leave your holiday nails to the professionals, visit your favorite nail salon and ask for Green Christmas Nails. Many salons offer custom nail art services, so you can get the exact design you want. Don’t forget to bring your inspirational photos!
Embrace The Season Of Green Christmas Nails
Green Christmas Nails are the perfect way to add a touch of holiday magic to your look. With so many shades and designs to choose from, there’s something for everyone. Whether you’re doing your nails at home or visiting a salon, this festive color is sure to make a statement. So go ahead, embrace the season, and let your nails shine with the spirit of Christmas!
Leave a Reply