How to Make a Gallery Wall: A Comprehensive Guide
Creating a gallery wall is an excellent way to showcase your personality and add a unique touch to your home decor. With a mix of wall art, photographs, and personal mementos, a gallery wall can transform any space into a stylish and personalized haven.
This guide will walk you through everything you need to know to create the perfect gallery wall layout. Let’s dive into the details!

What is a Gallery Wall?
A gallery wall, also known as a wall gallery or picture gallery wall, is a curated collection of framed artwork, photos, and other decorative items arranged on a wall. This wall display can be an eclectic mix or follow a specific theme, providing a focal point in any room.
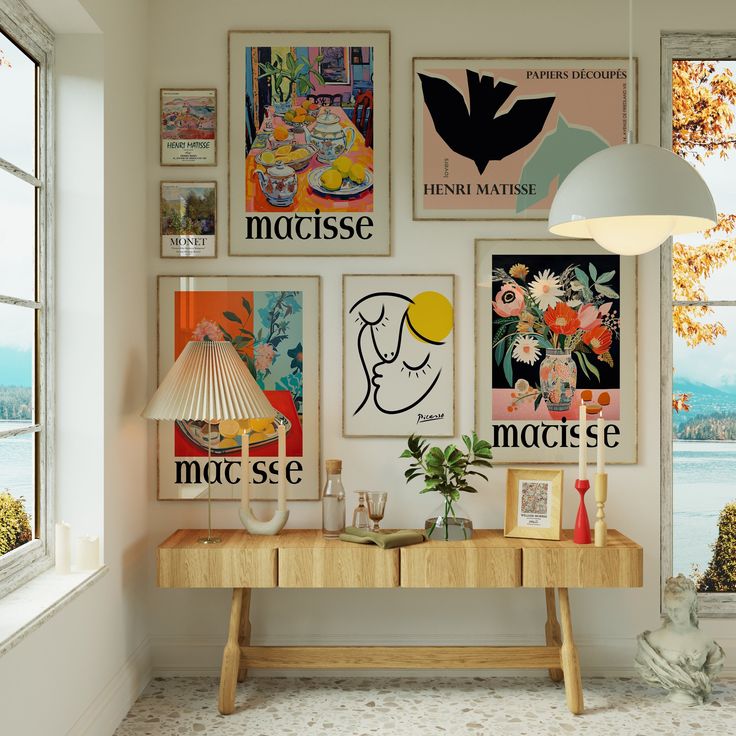
Choosing the Right Wall
Identify the Perfect Location
The first step in creating a gallery wall is selecting the right wall. Look for a blank wall with enough space to accommodate multiple frames. Consider areas like your living room, hallway, or staircase for maximum impact. These spaces often provide the most visibility and can turn an ordinary wall into a stunning focal point.
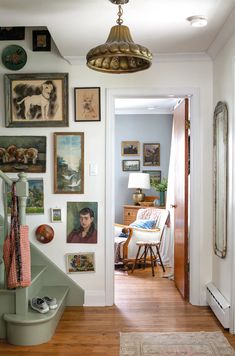
Assess the Wall’s Condition
Before starting, ensure the wall is clean and free of any damage. A smooth and even surface will make the process easier and ensure your frames hang correctly. If the wall has imperfections, consider patching and repainting it for a fresh start.
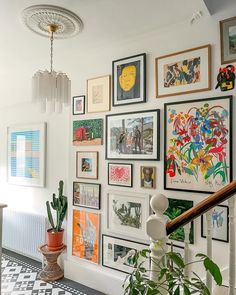
Planning Your Gallery Wall Layout
Determine the Layout Style
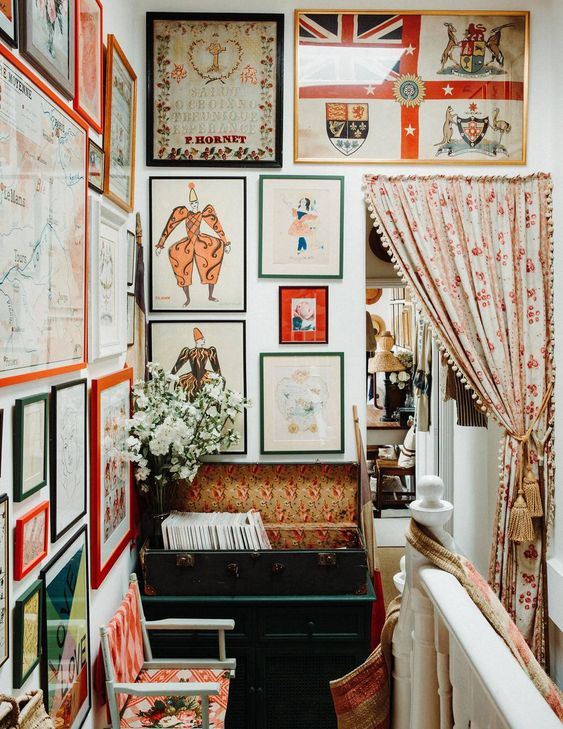
Decide on the layout style for your gallery wall. There are various options to choose from, including symmetrical, asymmetrical, and grid patterns. Each style has its charm:
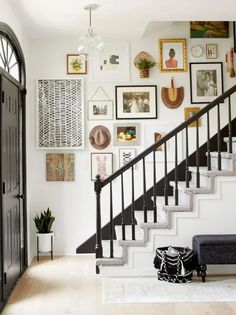
- Symmetrical Layout: This classic style involves placing frames of similar sizes in a balanced, orderly fashion. It’s perfect for creating a formal and cohesive look.
- Asymmetrical Layout: This style is more casual and allows for a mix of different frame sizes and shapes. It’s ideal for a dynamic and eclectic wall design.
- Grid Pattern: This structured layout features evenly spaced frames arranged in a grid. It’s great for displaying a series of related images or artworks.
Creating a Mock-Up
Once you’ve chosen a layout style, create a mock-up on the floor. Arrange the frames on the floor in the desired pattern, allowing you to visualize the final look and make adjustments before committing to the wall. Use painter’s tape to outline the arrangement on the wall, providing a guide for hanging the frames.

Selecting the Art and Frames
Curating Your Collection
The content of your gallery wall is what makes it unique. Select a mix of wall art, photographs, prints, and personal mementos. Consider including a variety of textures and mediums, such as canvas, wood, and metal. This diversity will add depth and interest to your gallery wall layout.
Choosing the Frames
Frames play a crucial role in the overall aesthetic of your gallery wall. Choose frames that complement each other and the artwork. You can opt for uniform frames for a cohesive look or mix different styles for a more eclectic feel. Consider the frame color and material to ensure they enhance the overall design.
Arranging the Frames
Finding the Right Balance
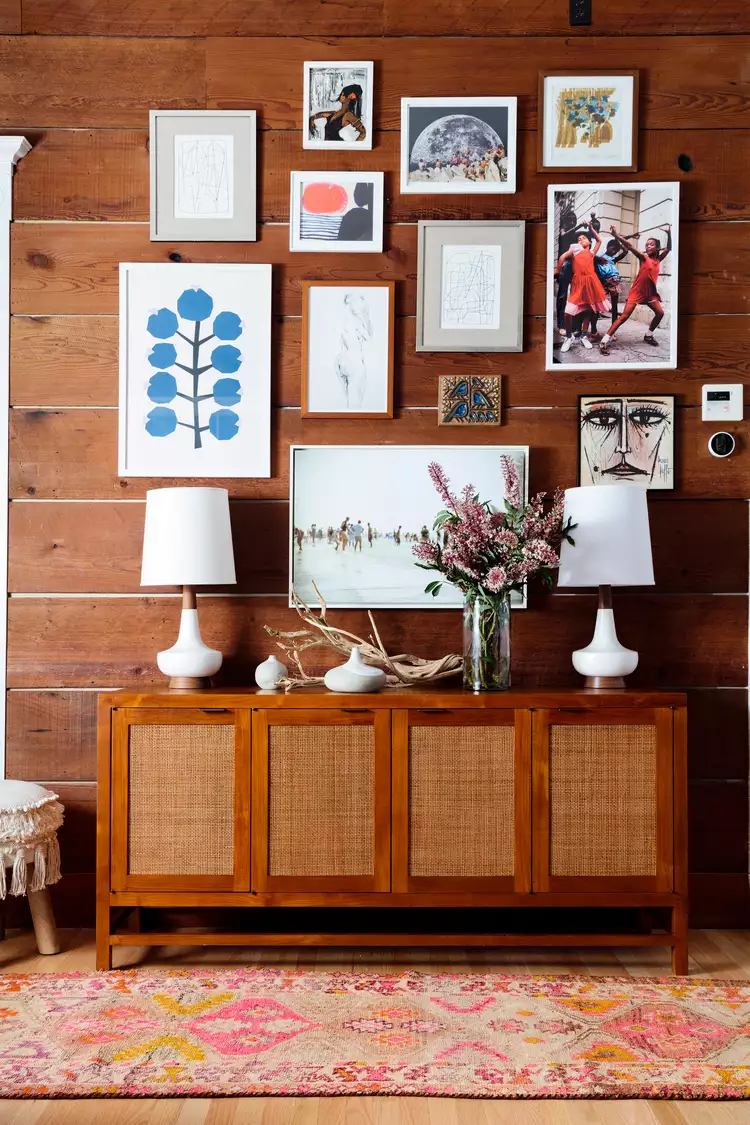
When arranging the frames, aim for a balanced look. Distribute the colors, sizes, and textures evenly across the wall. This helps create harmony and prevents the display from feeling lopsided. Start with the largest pieces and fill in with smaller ones, ensuring a visually pleasing composition.
Using Spacing to Your Advantage
The spacing between frames is essential for creating a cohesive gallery wall. Generally, 2-3 inches between each frame works well. However, feel free to adjust the spacing based on the size of your wall and frames. Consistent spacing adds to the organized appearance of the wall design.
Hanging the Frames
Tools and Supplies Needed
Gather the necessary tools and supplies before you start hanging your frames. You will need:
- A tape measure
- A level
- A hammer
- Nails or picture hangers
- Wall anchors (if needed)
- Painter’s tape
Measuring and Marking
Measure the distance between the top of each frame and the hanging hardware. Use this measurement to mark where the nails or picture hangers should go. Ensure each mark is level and aligns with the mock-up you created. Painter’s tape can help visualize the placement and make adjustments as needed.
Securing the Frames
Installing Wall Anchors
For heavier frames, it’s essential to use wall anchors to prevent them from falling. Drill holes at the marked spots and insert the anchors. This provides extra support and ensures your frames stay securely in place.
Hanging and Adjusting
Hang each frame on the marked spots, starting with the central piece and working outward. Use a level to ensure each frame is straight. Make any necessary adjustments to maintain the overall balance and alignment of your gallery wall layout.
Adding Final Touches
Incorporating Decorative Elements
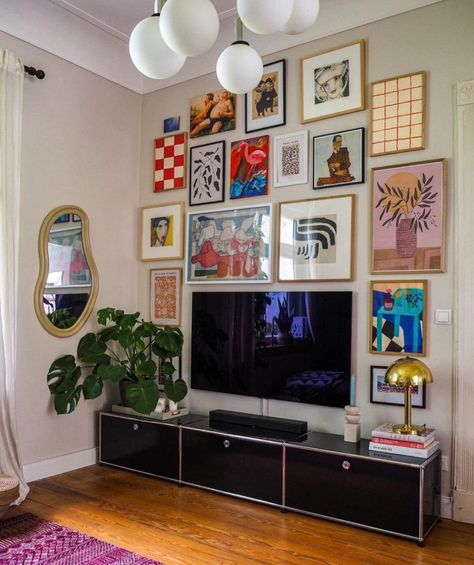
Enhance your gallery wall by incorporating decorative elements such as wall decals, small sculptures, or plants. These additions can add dimension and interest to your display, making it truly unique.
Lighting Your Gallery Wall
Proper lighting can elevate the look of your gallery wall. Consider installing picture lights or using adjustable spotlights to highlight the artwork. This not only enhances the visual appeal but also creates a warm and inviting atmosphere.
Absolutely! Proper lighting plays a crucial role in showcasing your gallery wall and can transform it into a stunning focal point. Here are some detailed insights on how to use lighting effectively:
Enhance Your Gallery Wall with Proper Lighting
1. Picture Lights:
- Definition: Picture lights are small fixtures designed to illuminate artwork directly.
- Installation: These can be mounted on the wall above each frame or attached to the top of the frame itself.
- Benefits: Picture lights provide focused lighting, drawing attention to the details and colors of each piece. They create a dramatic effect that enhances the overall visual appeal of your gallery wall.
2. Adjustable Spotlights:
- Definition: Adjustable spotlights are versatile lighting fixtures that can be directed to highlight specific areas or pieces of art.
- Installation: These can be installed on the ceiling or walls, allowing for flexibility in positioning.
- Benefits: By adjusting the angle and direction, you can create a layered lighting effect. This not only highlights individual artworks but also adds depth and dimension to the entire wall.
3. LED Strip Lights:
- Definition: LED strip lights are flexible lighting options attached behind frames or along the edges of shelves.
- Installation: These can be easily adhered to surfaces and have adjustable brightness settings.
- Benefits: LED strips provide a subtle, even glow that can outline your gallery wall, adding a modern and sophisticated touch. They are energy-efficient and have a long lifespan.
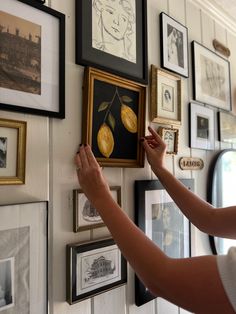
More Gallery Wall Ideas
4. Track Lighting:
- Definition: Track lighting consists of a track with multiple adjustable light heads.
- Installation: These are typically mounted on the ceiling, allowing the lights to be moved and directed as needed.
- Benefits: Track lighting offers maximum flexibility, making it ideal for large gallery walls. You can highlight multiple pieces simultaneously and adjust the lighting as your collection grows or changes.
5. Ambient Lighting:
- Definition: Ambient lighting refers to the general lighting that fills a room.
- Installation: This can be achieved through ceiling fixtures, floor lamps, or wall sconces.
- Benefits: While not directly focused on the gallery wall, ambient lighting creates a warm and inviting atmosphere. It ensures that the room is well-lit, allowing the artwork to be appreciated in a comfortable setting.
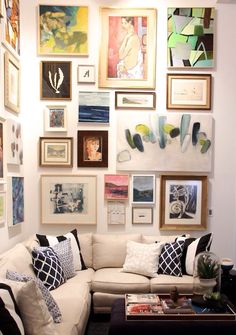
Tips for Effective Gallery Wall Lighting:
- Balance Intensity: Ensure the lighting is not too harsh or too dim. Use dimmable lights to adjust the brightness according to the time of day and the mood you want to create.
- Avoid Glare: Position lights to avoid glare on glass frames. Anti-glare bulbs or diffusers can help soften the light.
- Consistent Color Temperature: Use bulbs with the same color temperature for a cohesive look. Warm white light (around 3000K) is often ideal for creating a cozy and inviting ambiance.
- Highlight Focal Points: Use lighting to draw attention to your collection’s most significant or favorite pieces.
By incorporating these lighting techniques, you can significantly elevate the look of your gallery wall, making it a captivating feature that enhances the overall aesthetics of your space.
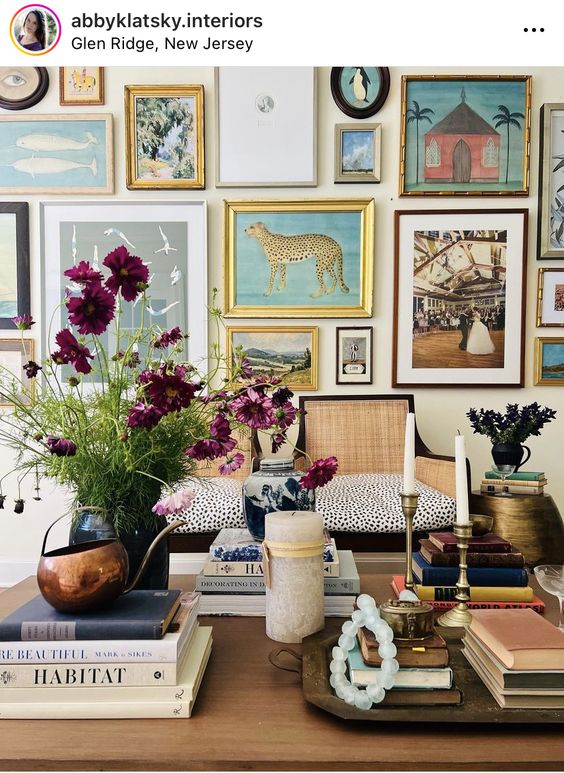
Maintaining Your Gallery Wall
Regular Dusting and Cleaning
Keep your gallery wall looking fresh by regularly dusting the frames and artwork. Use a soft cloth to clean the surfaces, gently ensuring they remain pristine.
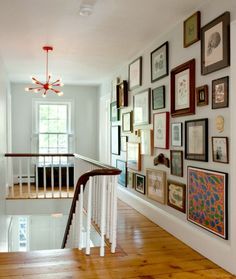
Updating and Refreshing
Over time, you may want to update your gallery wall with new artwork or photos. Don’t be afraid to refresh the display periodically to reflect your evolving taste and style. This keeps your home decor dynamic and engaging.
Gallery Wall Ideas and Inspiration
Themed Gallery Walls
Consider creating a themed gallery wall to add a cohesive look to your display. Themes can range from travel photos, family portraits, botanical prints, or a collection of abstract art. A theme provides a unifying element that ties the entire wall together.

Mixing and Matching
Don’t hesitate to mix and match different styles, colors, and textures. Combining vintage frames with modern art or pairing black-and-white photos with colorful prints can create an intriguing and eclectic wall design. The key is to balance the elements to ensure a harmonious look.

Conclusion
Creating a gallery wall is a fun and rewarding project that allows you to express your creativity and personalize your home decor. By carefully planning the layout, selecting the right art and frames, and paying attention to the details, you can create a stunning wall display that reflects your unique style. Whether you prefer a symmetrical layout or an eclectic mix, a well-designed gallery wall will transform any space into a visual masterpiece. Enjoy the process and let your imagination run wild!
Leave a Reply